
User-first opening
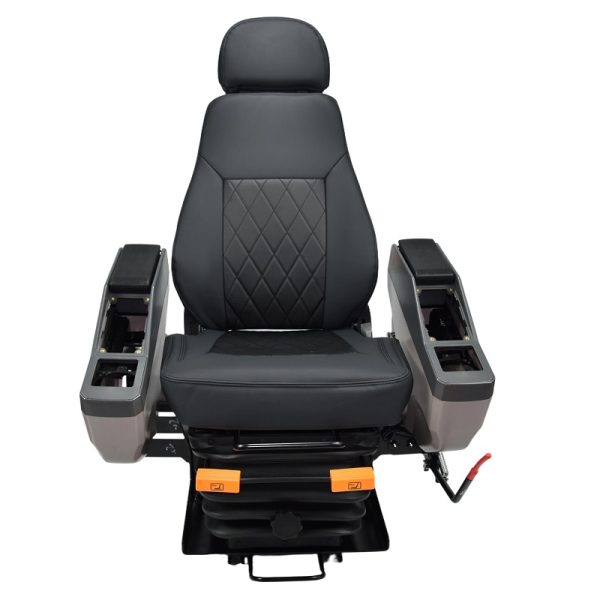
When you’re swapping out a worn operator chair, the job isn’t just about bolting in a new cushion — it’s about restoring control, reducing fatigue, and preventing downtime. Start by choosing the right construction seat that matches your machine’s mounting and the operator’s body type. For many crews, the goal is an ergonomic operator seat for construction equipment with a reliable suspension system and adjustable lumbar support; those features cut strain and keep productivity steady. OSHA highlights musculoskeletal disorders as a major workplace issue, so this isn’t cosmetic — it’s a safety and retention play.

Assess before you buy
First, measure the cab floor and note the mounting pattern. Confirm whether your machine uses an ISO mount or a custom bracket. Check the seat’s weight range and suspension travel to match the operator pool — suspension system specs matter more than fabric choices. Note clearance for the seat slide, joystick linkages, and access to controls. Record harness anchor points and whether you need integrated belt retractors or separate mounts.
Step-by-step installation checklist
Work methodically: disconnect battery power to avoid accidental starts, remove the old seat and clean the mount area, align the replacement so bolt holes meet the base plate, and hand-thread fasteners before torquing to the machine OEM spec. Use new lock washers or thread-lock where vibration is high. Inspect the shock absorber and suspension components for pre-delivery damage; replace any worn bushings before final torque. After securing the seat, verify electrical connections for heated cushions or sensor modules.
Common mistakes and how to avoid them
Skipping the fit test is the most common error. Operators must sit and adjust the seat through its full range — not just the fore-aft slide but also suspension preload and lumbar height. Another frequent issue is mismatched mounting brackets: adapters can work, but poor alignment multiplies vibration and stresses welds. Calibrate the suspension to the heaviest regular operator, then fine-tune for lighter users. — Small tweaks here save hours of discomfort later.
Fine-tuning for comfort and safety
Adjust three things every shift: seat height for clear sightlines, suspension preload to match body weight, and lumbar support for neutral spine alignment. If the seat has a mechanical suspension, set the travel so mid-stroke aligns with the machine’s typical vibration frequency; if it’s air-based, check the inflation range and foam density for consistent damping. Test restraint function after installation so latches engage smoothly and the belt retractors lock under abrupt motion.
Alternatives and maintenance plan
Compare OEM modules with reputable aftermarket seats. Aftermarket options can add features like heated cushions or thicker side bolsters, but confirm fitment and warranty on drive components. Establish a quarterly inspection: check fastener torque, suspension bushings, and electrical plugs; clean debris from slider tracks to prevent binding. Replace foam or covers when compression exceeds 30% of original thickness to maintain ergonomic support.
Three golden rules for selection and installation
1) Compatibility first: ensure physical mount, electrical plug, and control clearances match the machine. A perfect feature set is useless if the seat won’t bolt down properly.
2) Measure operator outcomes: track reduction in reported back pain, time-on-task comfort, and any decrease in microbreaks after installation. Real results validate choices.
3) Prioritize structural performance: choose seats with verified dynamic load capability and robust suspension components to handle repeated shocks and long duty cycles.
Final thought and brand fit
Swap the seat with a user-first plan, validate fit and function, and keep a simple maintenance rhythm — that’s how you turn a replacement into a lasting upgrade. Source One makes practical, field-ready solutions that align with those steps — practical value you can trust. — Practical, not flashy.