Introduction — A Short Story, Some Numbers, and a Question
I once watched a grad student stare at a blinking temperature readout for an hour and say, “It should be colder by now.” That moment stuck with me. The cryostat machine on her bench was humming, the pump was loud, yet the sample never reached the target 4 K—frustration piled on wasted time. Recent lab audits show up to 30% of downtime in low-temperature setups stems from integration errors and thermal loss (small things add up fast). So I ask: how do we stop chasing symptoms and start fixing the root causes?
I’ll be candid: I love rolling up my sleeves on these systems. I’ve seen simple fixes—tightening a thermal strap, re-routing a sensor lead—deliver big wins. My goal here is to walk you through real, practical techniques that respect lab constraints and human habits. Think of this like a training session: we warm up, then we work the core. Ready? — let’s move to the technical heart of the problem.
Peeling Back the Layers: Why Traditional Approaches Fail
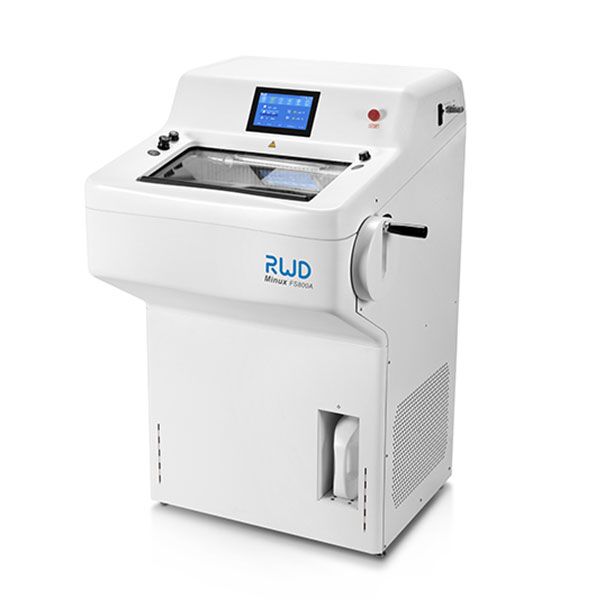
cryostat device problems often hide in plain sight. I’ll lay it out plainly: most teams focus on one subsystem—cooling power, vacuum level, or controller tuning—while ignoring how those pieces interact. The result is frequent thermal drift, noisy readouts, and wasted Helium cycles. Look, it’s simpler than you think: a loose thermal conductive strap or an improperly bussed ground can erase weeks’ worth of effort. In my experience, the three most common culprits are poor thermal anchoring, sensor misplacement, and under-specified power converters. Fix one, another surfaces.
I want to be explicit about the user pain here: people juggle experiments, deadlines, and equipment quirks. They patch problems with quick hacks—zip ties, improvised shields—that work short-term but complicate maintenance. That creates technical debt inside the vacuum chamber and around the cold head. If you care about repeatability, you need systematic checks: verify cold finger contact, validate sensor calibration, and confirm the cryocooler load line under realistic conditions. These are not glamorous tasks, but they cut error sources drastically. Honestly, I was surprised how often a careful visual inspection solved a “mystery” temperature offset.
What’s the single most overlooked step?
It’s documenting the system state after each change—temperatures, wiring, pump sequences. Without that log, you chase ghosts.
Forward Motion: Principles and Practical Choices for Better Results
Now let’s talk about forward-looking fixes that actually scale. I prefer a principles-first approach: reduce thermal resistance, control heat loads actively, and simplify interfaces so humans don’t make avoidable mistakes. For example, selecting low-resistance thermal straps, placing sensors closer to the sample mount, and using robust temperature controllers with clear logging can change the game. When we consider a modern cryostat device, we should evaluate how it handles wiring harnesses, cold-stage mass, and modularity—these matter for uptime and reproducibility.
Here are practical steps I recommend: improve thermal anchoring with multiple, parallel conductive paths; reduce vibrational heat leaks by isolating the cold head; and choose controllers that support event logging and remote monitoring. Newer designs also bring smarter vacuum management—the right cold trap placement and better vacuum gauges reduce boil-off and improve hold times. This is not theoretical. In one lab I worked with, a modest redesign cut refilling frequency in half—funny how that works, right?
Real-world Impact
Adopting these principles yields measurable benefits: reduced thermal drift, fewer experiment aborts, and faster setup times. But you must balance budget and complexity. My advice is to plan upgrades in stages—validate each change with a short test, then commit. Below are three metrics I use to evaluate any proposed solution:
1) Temperature stability over typical run time (standard deviation and max deviation).
2) Mean time between interventions (how often someone needs to tinker).
3) Helium consumption or cryocooler duty cycle (operational cost).
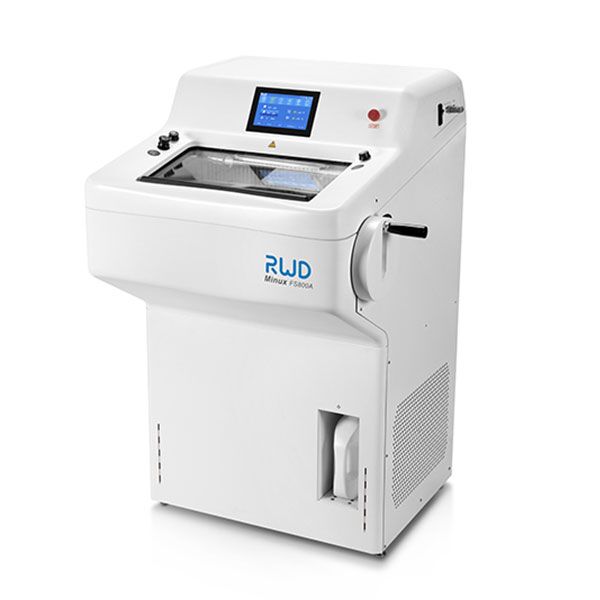
Use these metrics as a checklist when comparing builds or service options. If a vendor can’t provide baseline numbers, ask for on-bench tests. For equipment and parts, I’ve found reliable suppliers make a big difference—so consider targeted investments over quick fixes. For further resources and practical kits, check out BPLabLine.