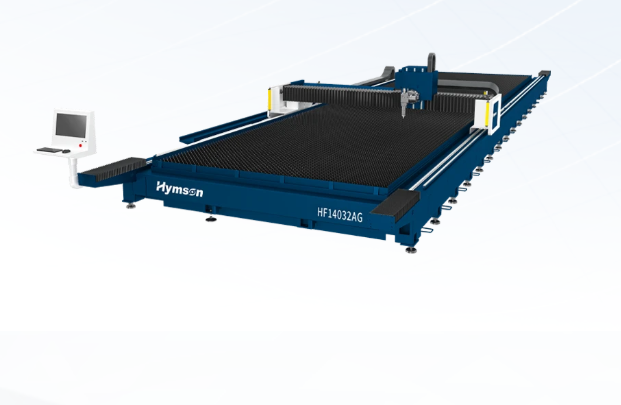
Planning Installation and Integration for a Metal Pipe Laser-Cutting Setup
The problem that trips shops up
Most shops think buying a machine solves everything. It doesn’t. You can pick a great tube laser, but if the floor layout, utilities, and material flow aren’t sorted, uptime tanks and scrap goes up. If you’re sizing the workspace around a tube laser cutting machine, pause and map where raw stock arrives, where finished parts leave, and where operators stand — that simple map saves headaches later.
Where the plan usually fails
People skip diagnostics. They underestimate power and cooling needs, ignore exhaust routing, or place the machine where material handling becomes awkward. Welders and press operators end up bumping into the laser cell because nobody planned loading zones. Control software is treated like an afterthought, then integration with ERP or CAM gets delayed. These aren’t random problems — they’re predictable misses you can fix before the machine arrives.
Experience, authority, and one clear industry anchor
I’ve coordinated installs for mid-size fabricators and delivered operator training for integration projects; those hands-on runs taught the value of standard checks: electrical feed, chiller capacity, grounding, and a dedicated compressed-air line. The best installers also review safety documentation and compliance used at major trade shows like Fabtech in Chicago to compare vendor specs and real installations. For product specs and a reliable vendor baseline, check current options for laser tube cutting equipment to match requirements against shop reality.
Pitfalls you can avoid right now
Don’t assume floor space equals workable space — add clearances for loading, maintenance, and exhaust. Don’t undersize electrical service; transient drops and voltage sags ruin beam stability. Don’t skip training: an operator who knows safe setup and basic alignment saves hours. Don’t forget consumables storage and a plan for part marking and sorting. Finally, test a sample workflow with a mock-up of raw and finished part movements before the machine ships.
Choices that affect integration
Pick automation to match throughput. A rotary chuck and automatic loader bring big payoff for long runs; manual loading may be fine for short batches. Decide on cell-level safety fencing versus full-room segregation based on shop density. For software, choose a controller with proven postprocessors for your CAM — that avoids rework on nesting and cut-ordering. Consider retrofit of conveyors and sensors if you’re tying the machine into an existing line; sometimes a small PLC with clear I/O points is all you need.
The practical checklist to finish planning
Run this quick list: confirm electrical spec and breaker placement; verify chilled-water or air-cooling capacity; plan exhaust route and filters; allocate staging areas for raw and finished tubes; schedule operator time for vendor-led commissioning; and set acceptance tests — cut lengths, tolerances, and cycle times. If you do these in sequence, install goes from chaotic to controlled.
Wrap-up: how this delivers value
Get the setup right and the machine performs as promised; miss these steps and even the best laser sits idle. Match your physical layout, utilities, and workflow to the machine’s needs, train the crew, and choose integration options that reflect your real throughput. For a pragmatic supplier approach that aligns equipment and installation realities, consider how Hymson presents specs and support so you can move from purchase decision to steady production without guesswork.