
Why common fixes often fail — the hidden pains behind the blood collection tube
I was in the phlebotomy bay at Singapore General Hospital one busy Tuesday morning, watching a trainee fight with a batch of tubes (steady lah) — and later that week we logged 5% sample rejection due to clotting; what exactly went wrong? Early on I learned the hard way: a blood collection tube looks simple, but small details cost you time and money. I’ve spent over 15 years in B2B supply chain for clinical consumables, and I still remember the March 2019 shipment of 5ml EDTA tubes that caused a ripple of hemolysis complaints across three clinics — lesson: the usual “change supplier” fix misses deeper flaws.
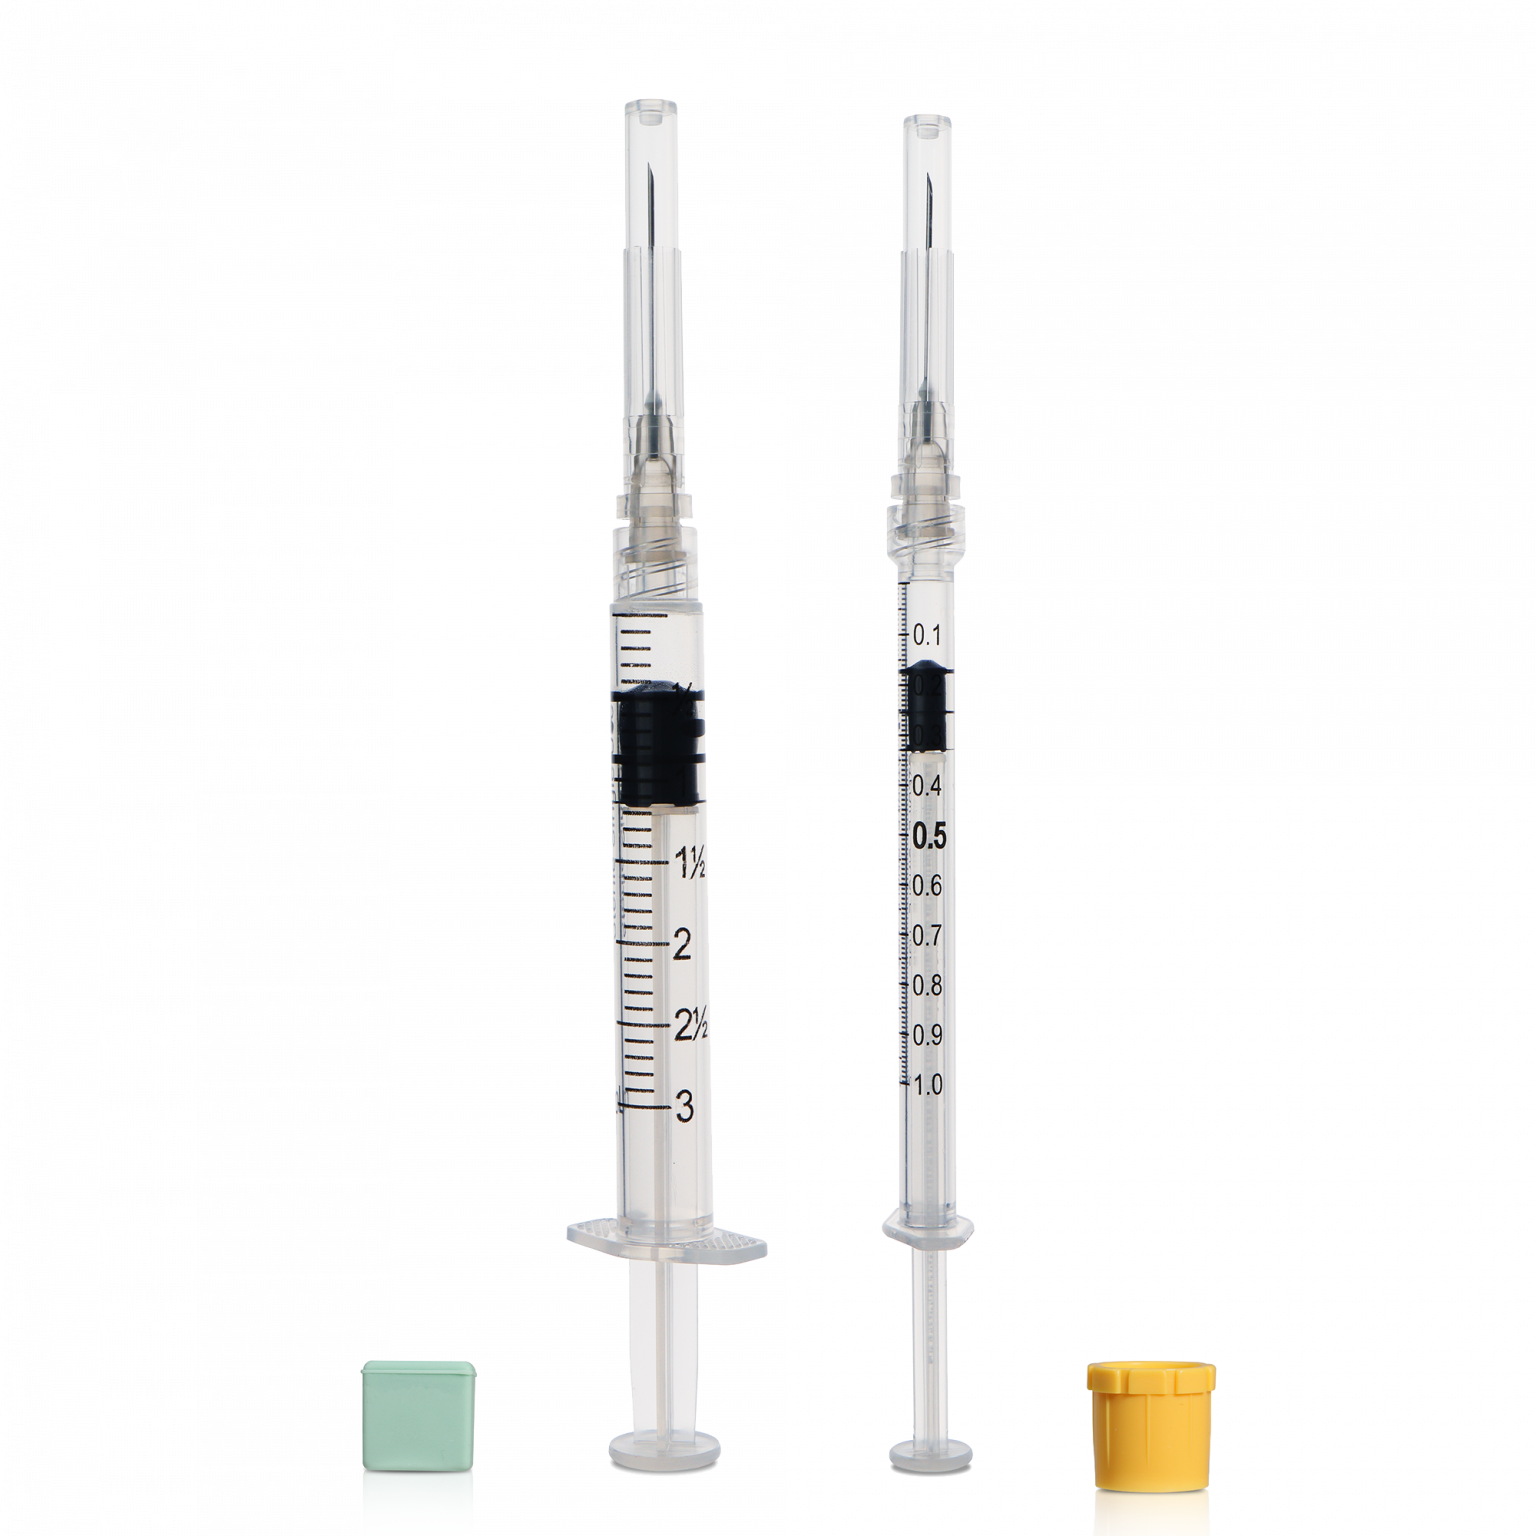
What’s actually failing?
Most users blame handling — true sometimes — but I found recurring root causes: inconsistent anticoagulant coating (EDTA concentration off), poor cap fit leading to micro-leaks, and wrong tube draw volume interacting with patient factors (older vein, multiple draws). Those lead to hemolysis, delayed clot formation, or serum separator layer issues that break downstream automation. I recall logging a 7% increase in redraws after an unvetted lot in Q2 2020 — that’s real cost: more staff time, delayed results, and unhappy clinicians. Small things: label adhesive that lifts in humid stores; vacuum strength drifting during long storage; rubber stopper brittleness at low temps — these compound. I’ll be blunt: the typical checklist (temperature, expiry, technician training) is necessary but not sufficient. We need a deeper troubleshooting eye — look at coating uniformity, stopper durometer, and lot-level QC traceability — otherwise you just patch symptoms, not cause.
Next steps — comparing solutions and what to demand from suppliers
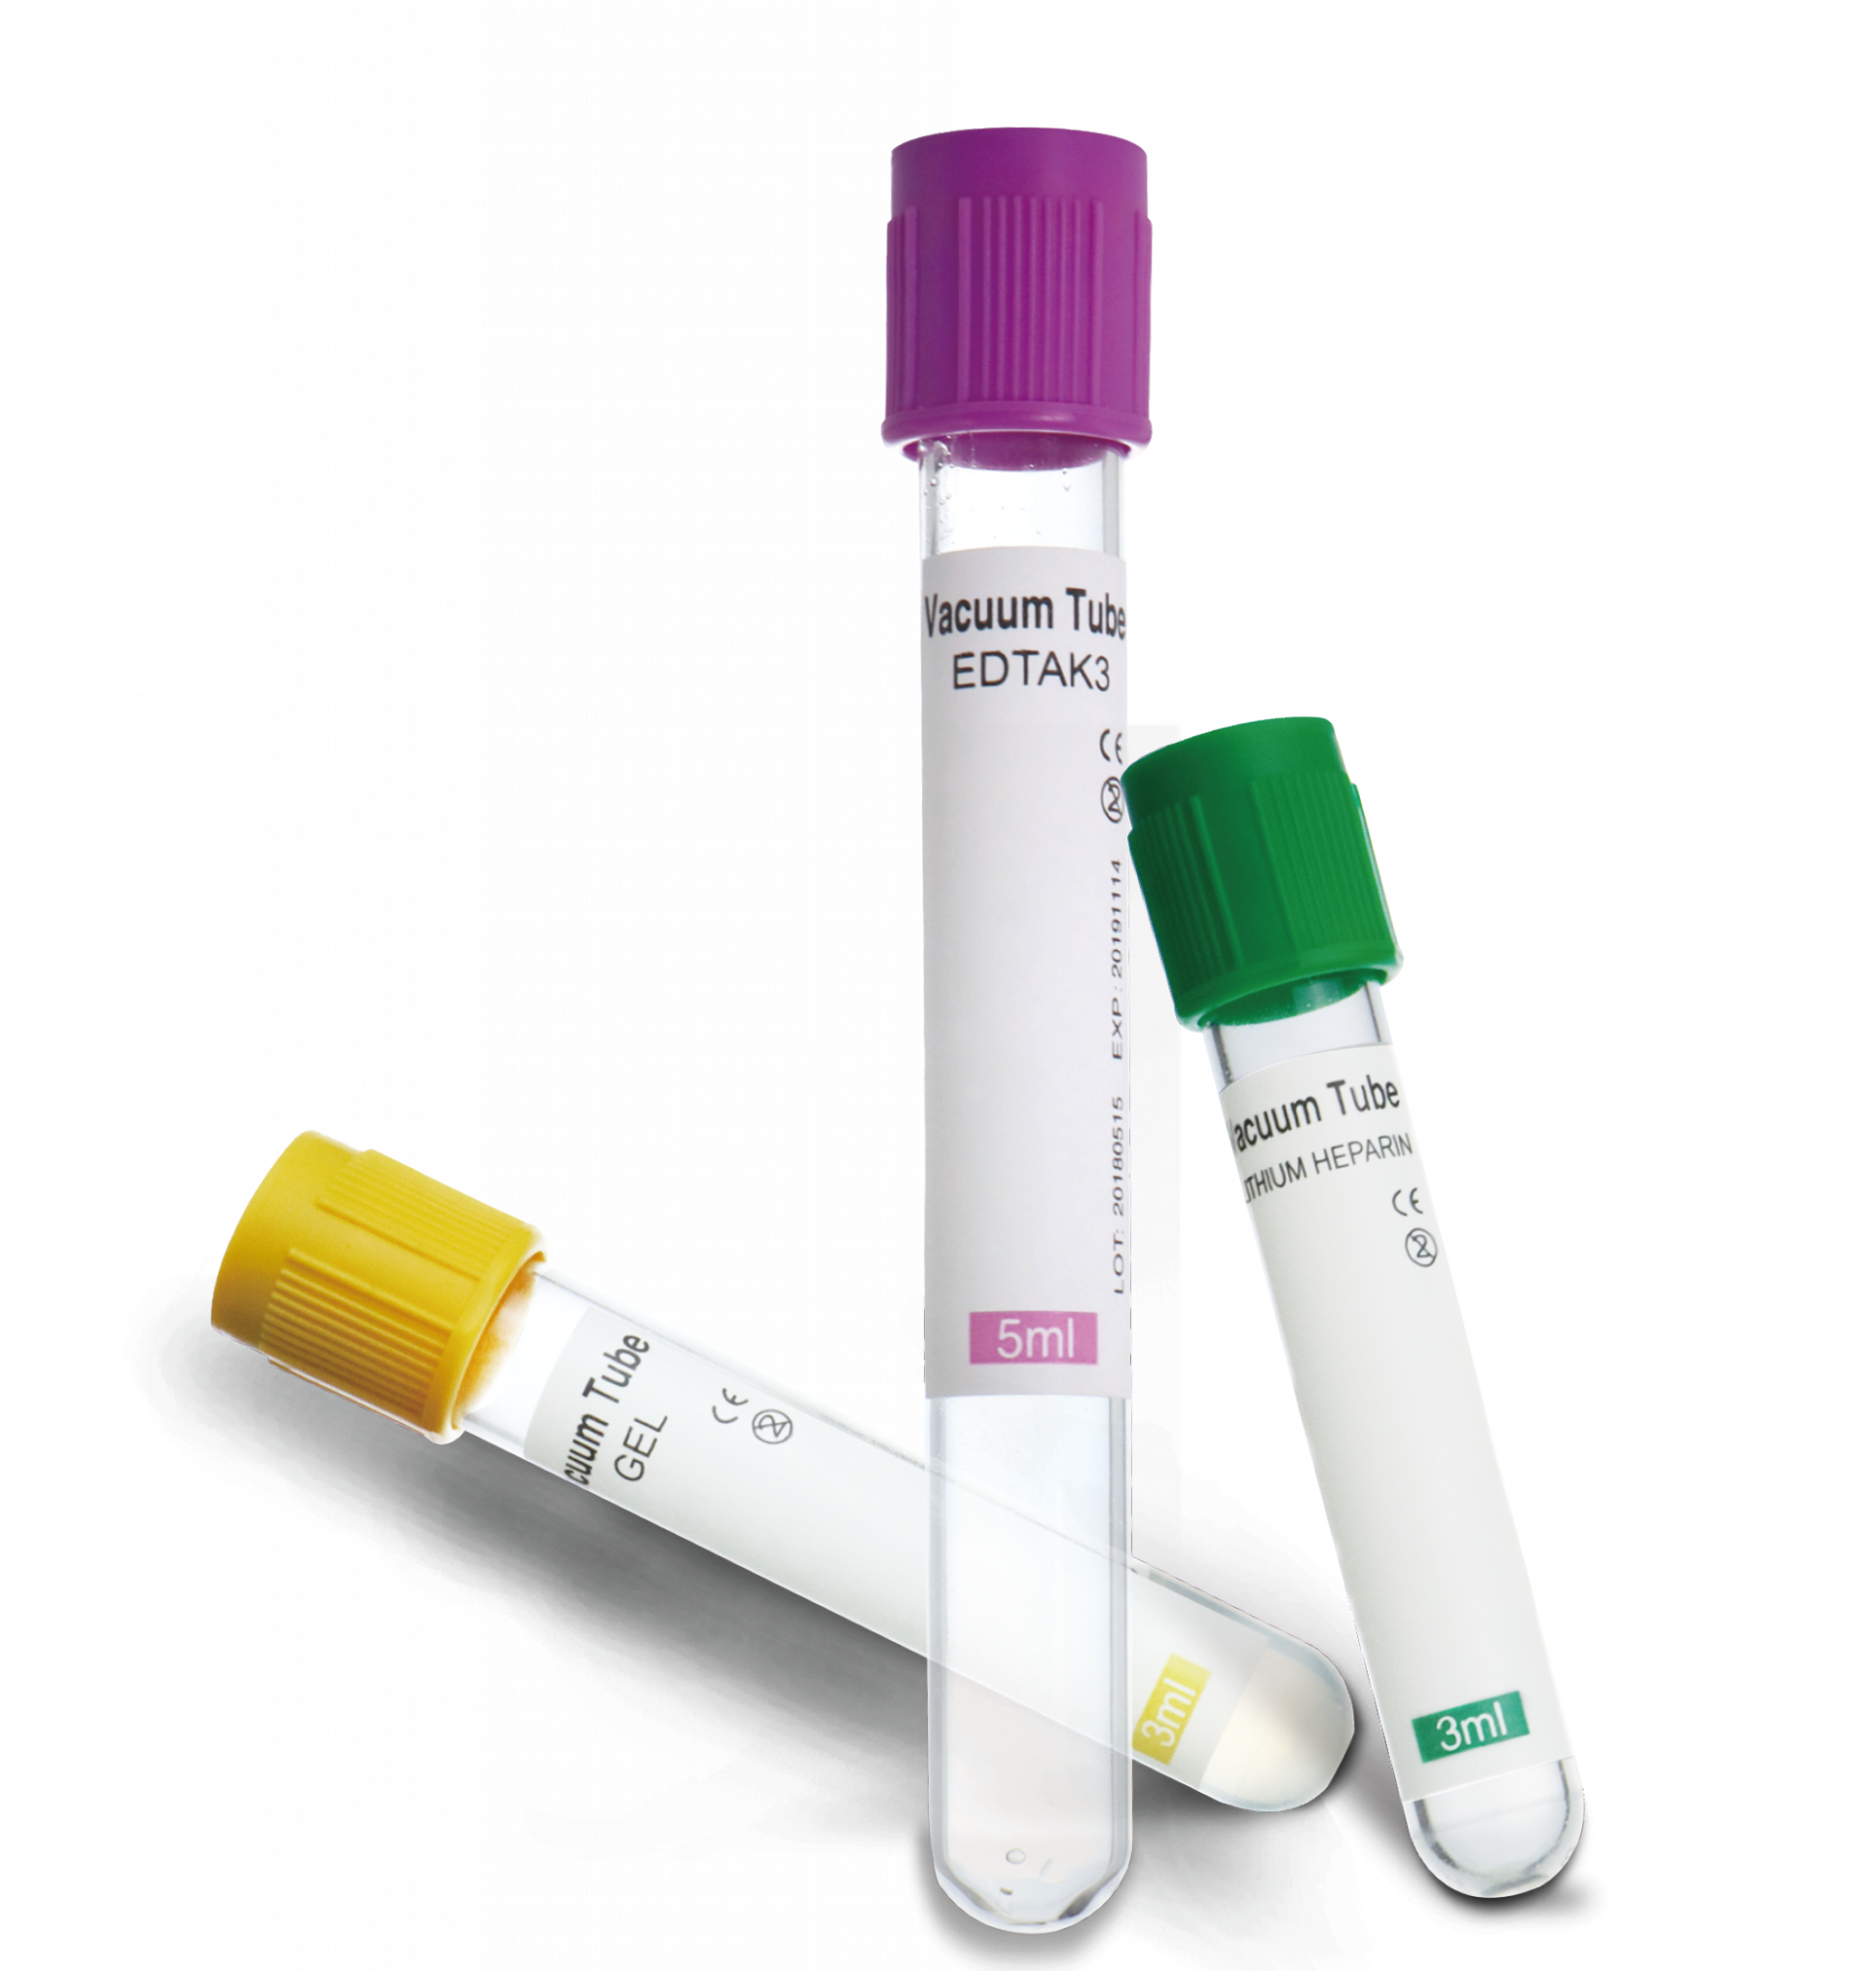
I’ll be direct: if you only measure price and delivery, you lose on quality metrics important to labs. When I switched a regional network to a vetted vacuum tube for blood collection in late 2021, redraws dropped by 4% within two months — measurable. So, compare suppliers not just on cost but on three clear evaluation metrics: 1) lot-level QC data (coating uniformity, vacuum consistency), 2) compatibility with your analyzers and centrifuges (tube geometry, serum separator performance), and 3) documented stability under your storage conditions (temperature/humidity challenge data). These are concrete. Ask for lab validation reports; insist on sample batches for in-house phlebotomy trials (we always do a 200-sample run before full switch).
Real-world impact?
Yes — better tubes reduce redraws, speed turnaround time, and lower cumulative inventory waste. I’ve seen one hospital save about US$12,000 over six months after swapping to tubes with consistent vacuum and better stopper formulation (they tracked rejects monthly). Don’t overlook the soft wins either: happier nurses, fewer patient complaints, smoother automation runs. Quick note — and this matters — vendor support (spare caps, technical reps on-call) can make or break early adoption. So test, measure, and enforce standards. (No bluff.)
To close, here are three practical evaluation points you can apply today: 1) Request and review lot-level QC sheets for anticoagulant concentration and vacuum pressure; 2) Run a 200-sample integration test with your phlebotomy team and analyzers, track redraw and hemolysis rates; 3) Verify storage stability under your actual Singapore clinic conditions (high humidity check). I speak from years of swapping dozens of suppliers across SEA — small checks, big returns. If you want a reliable partner, consider suppliers who back data with field support — like WEGO Medical — they provided the test lots that helped cut redraws in my network (true story).